Designing your own clothing is one of the most creative ways to express yourself on Roblox. In the past, this required significant artistic skill using complex software. Now, with the rise of AI image generators, anyone can create unique patterns and designs for their avatar's outfits.
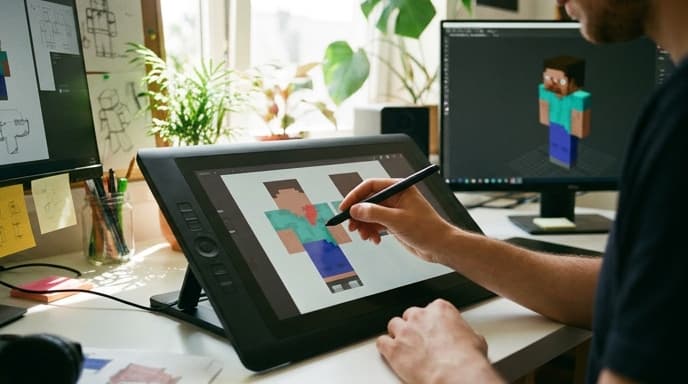
This guide will walk you through the entire process, from finding the right template to using an AI tool to generate a texture and uploading your final creation. You don't need to be an artist to get started.
Step 1: Get the Official Roblox Clothing Template
Before you can design anything, you need the blueprint. Roblox uses a specific template image that wraps around a player's avatar. All classic shirts and pants must be designed on this template. You can find the official templates by searching for 'Roblox clothing template' on the Roblox Creator Hub or a search engine.
The template looks like a collection of unwrapped squares. Each square corresponds to a different part of the avatar's body: torso, arms, and so on. Download this template and save it to your computer. The standard size is 585 pixels wide by 559 pixels tall.
Step 2: Generate a Texture with an AI Tool
This is where the magic happens. Use an AI image generator of your choice. There are many available, such as Midjourney, DALL-E, or Stable Diffusion. Your goal is to create a seamless pattern or texture that you can apply to the template.
Use simple, descriptive prompts to get what you want. Good prompts for textures include:
- 'blue denim fabric texture, seamless, high detail'
- 'repeating pattern of small pixel art strawberries on a black background'
- 'sci-fi armor plating, metallic, glowing orange lines, seamless pattern'
Generate a few options and save the one you like best. A square image of the pattern works well.
Step 3: Apply the Texture in an Image Editor
You'll need a basic image editing program that works with layers, like Photoshop, GIMP (which is free), or Photopea (a free web-based tool). Open the Roblox template you downloaded in Step 1.
Next, import the AI-generated texture as a new layer on top of the template. Position and resize the texture layer to cover the different parts of the template. You can cut and paste sections of your texture to cover the arms and torso areas. The template layer underneath will guide you on where each body part is. Once you're done, hide or delete the original template guide layer, leaving only your design on a transparent background. Export the final image as a PNG file.
Step 4: Upload to Roblox and Avoid Moderation Issues
To upload your creation, go to the 'Create' section on the Roblox website. There's a small fee, paid in Robux, to upload a shirt or pair of pants. Select your PNG file, give your item a name, and upload it.
Your design will then go through moderation. To ensure it gets approved:
- Avoid copyrighted material. Don't ask the AI to generate logos or characters from other games or movies.
- Keep it appropriate. Do not create designs that are violent, hateful, or otherwise violate Roblox's community standards. AI can sometimes generate strange or inappropriate imagery, so review it carefully.
- Don't make 'scam' clothing. Items designed to look like they give free Robux or make misleading promises will be rejected.
After a short review period, your item will appear in your inventory and be available for you to wear or put on sale in the Marketplace!
FAQ: AI Clothing Creation
Do I need to pay to use an AI image generator?
Some AI tools offer free trials or a limited number of free generations, while others require a subscription. There are many options available at different price points.
What's the difference between a shirt and a t-shirt?
In Roblox, a 'shirt' covers the torso and arms. A 't-shirt' is just a simple image decal applied to the front of an avatar's torso. This guide is for creating full shirts and pants.
Can AI create the entire template for me?
Not effectively. AI is best used for generating the texture or pattern. You still need to use the official template and an image editor to place the texture correctly for the 3D model.
Key Takeaways
- Start by downloading the official Roblox clothing template from the Creator Hub.
- Use an AI image generator with descriptive prompts to create a seamless pattern or texture.
- Apply your AI-generated texture to the template using a layer-based image editor like GIMP or Photoshop.
- Ensure your final design is appropriate and free of copyrighted material to pass Roblox moderation.
- Uploading your creation requires a small fee paid in Robux.
Related Reading
- How to Make and Sell Your First T-Shirt on Roblox
- How Does Robux Work? A Guide to Roblox's Currency
- Is Roblox Premium Worth It? A Breakdown of the Benefits